Hello again friends. This post was a fun project to put together, and one I’ve been wanting to do since I found this little treasure late last summer. I spotted a large piece of driftwood on the beach of a neighboring city, and I immediately knew what I was going to do with it. Make a driftwood DIY candleholder. It’s no secret that I love candles. As I’m writing this, I’m being bathed in the soft glow of about a dozen of them. So let’s see how I turned a salvaged piece of driftwood into a glowing center piece.
A Natural Take on an Old Standby

Making a wooden tealight candle holder isn’t anything new, and when I came across this driftwood board I knew right away that it was going to hold tealights. When I first discovered live edge wood slabs, I fell in love. The raw feeling of untamed nature draws me in and imparts the space it inhabits with a feeling of aliveness. No clean lines, just warm wood tones in its elemental beauty.
And the above piece of driftwood has a live edge feel to it. It’s most likely an 8×2 board that’s been chewed up by the sea. But after being exposed to the elements it looks like it’s been reverted to its natural state. So not too long ago, I gathered my tools, and got ready to start the project.
Making a Plan


While I was planning the project in my head, I was thinking about using a drill to make the nozzle (I had to google that), where the candle sits in the holder. I wanted to buy a new drill anyway seeing as how I lost my last one in a flood in my father’s basement. So I called my dad, asked him to go to the hardware store with me, and looked up the proper drill bit ize I would need to make the right sized nozzle for a tea light.
I got the drill, a Ryobi, on recommendation from a contractor friend of mine, and a 1.5 inch spade head drill bit to drill the hole. I’m glad I got the drill because I got a chance to bond with my dad and I plan on using it often in the future. But when I readied the drill bit for the project, I quickly realized that the bit would drill too deep.
There is a screw in the center of the bit, to grab the wood and guide the bit while boring the hole. The problem with that is that the drill tip would drill through the board before making the nozzle deep enough to fit the tea light. This wouldn’t due, so a change of plans was in order.
Change of Plans, Hand Carved
I decided to carve the wood to make the proper sized nozzle hole, but I didn’t have the right tools. So I texted my neighbor, and he happened to have a set of woodcarving knives. I got the knives from my neighbor, thanked him, and got to marking places I’d be placing the candles.
Step 1.


Above you can see that I laid out the candles on the board where I wanted them to sit. I spaced them out evenly in a straight line, nine tea lights all together, and took a dark brown, Dual Brush Tombow pen, and traced the candles where they would ultimately lay. I use these pens for bullet journaling also, because they have a good feel on the paper.
Step 2.

I then readied my tools and started carving out the traced holes. Left I have four knives, but I only used three. The silver knife top right of the photo, the carving hooked knife, bottom left, and the fat, short blade above the hook knife, called a sloyd carving knife.
Step 3.
Next, I drove the sloyd knife directly into the wood around the ring I marked around the diameter of the candle. I only drove the knife in about half the depth of the tea light at a time. This was to prevent me from making the nozzle too deep, and possibly damaging the board. The candle is only about a half an inch deep, so I wanted to make the hole about 3/8 of an inch deep, to have a bit of the candle rim above the nozzle.

Step 4.

I then took the sturdy, silver blade, and wedged it under the top layer of the circle of wood I marked with the smaller, sloyd blade. I put a couple of folded napkins under blade, on the rim of the soon to be hole to protect the edge, and pried up chips of wood, one piece at a time. I did this until I reached the bottom of the ring, where I inserted the sloyd, and then repeated step three until I got to the desired 3/8 inch depth.
Step 5.
Once I dug out most of the hole with the sloyd and larger blade, I took the hook knife and placed just the tip against the bottom of the wall, and carved out the chips at the bottom to make a clean, even, flat bottomed surface for the tea light to rest on.

Finished Piece
Below you can see how the tea light fits snuggly into the nozzle, and the clean, smooth bottom after using the hook blade to clean up the sides.


I was thinking about staining or oiling the wood, but I wanted to keep the washed look of the board. I like the raw feel and weathered patina, it has character. Below you can see the holder in its entirety.


Time to Relax
This was a fun project, and it only took about a day to carve out all nine nozzles in the votive. It took a while to get started, but once I got the hang of working with the knives, it was a fairly smooth process. I’m thinking about sanding the nozzles with a fine grit sandpaper, but I’m not sure that’s necessary. The bottom of the openings are smooth, and I like the character the votive has. I may try it out on one of them, just to see what it looks like.
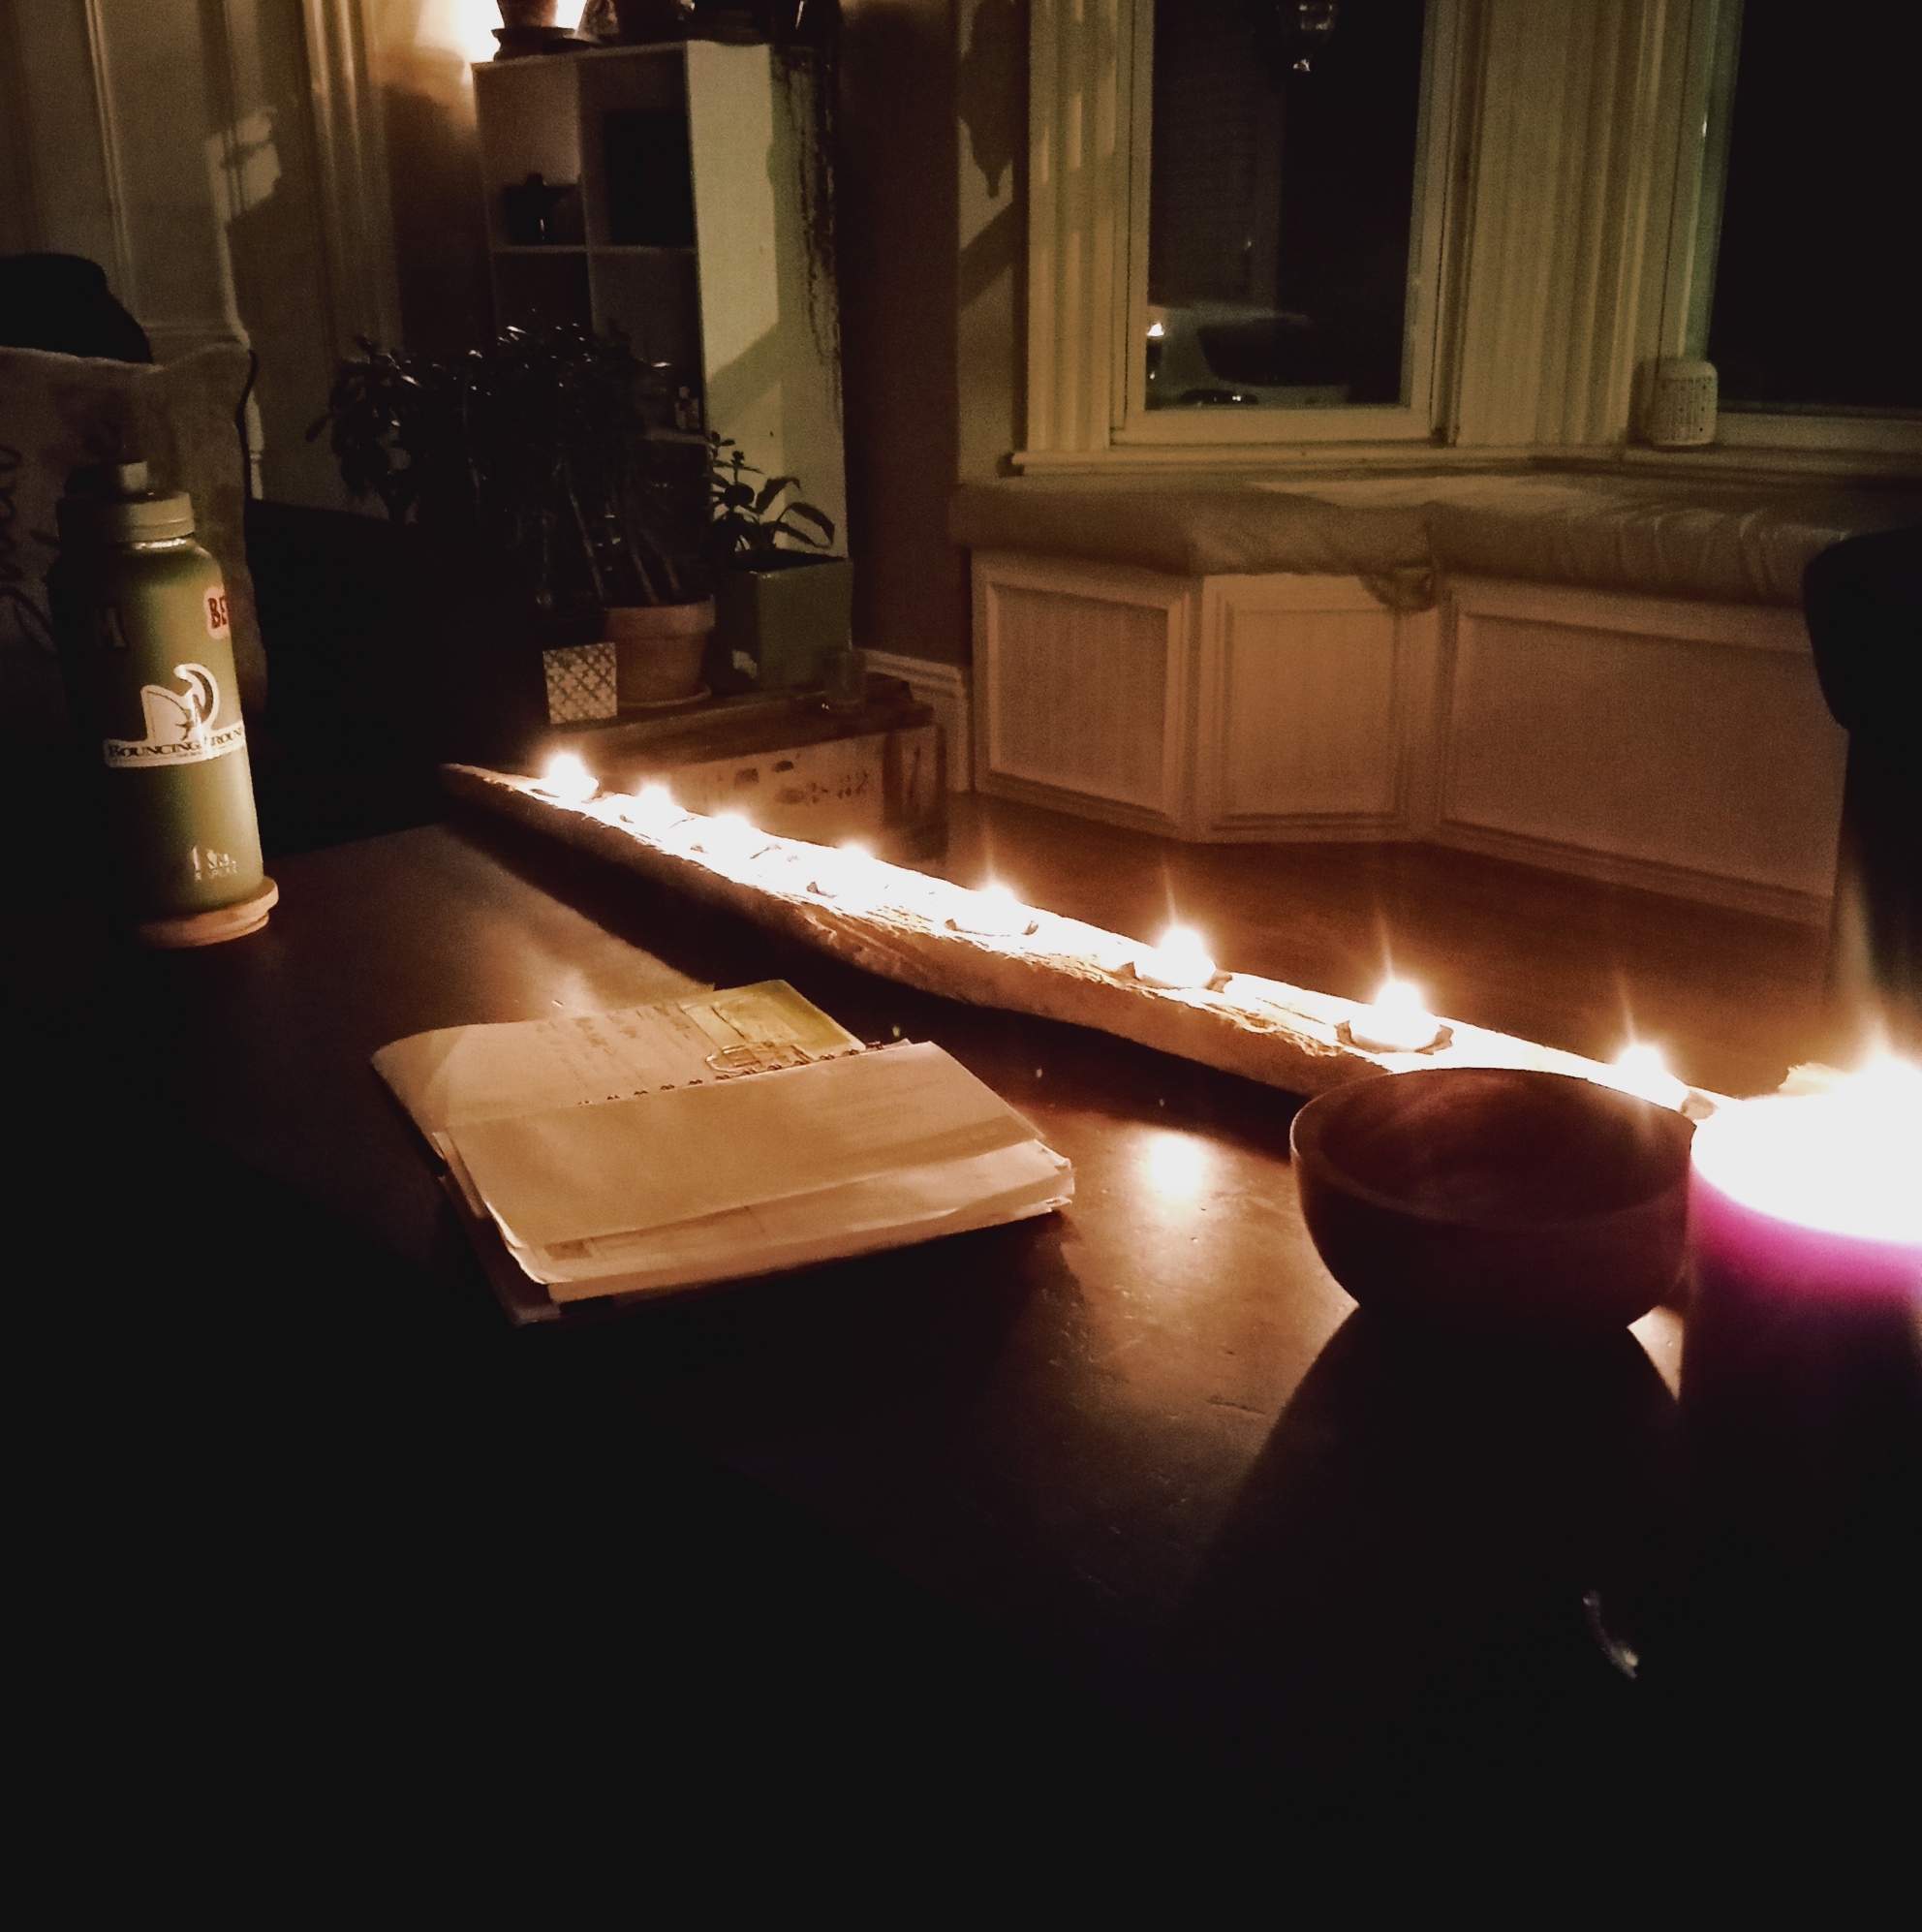
I’ll leave you with a few photos of the finished holder in use, and some links to the tools I used. If you want to give this a go, head down to the beach and comb it for some pieces that will fit the bill. Or if you’re landlocked, you can search Etsy or Amazon for driftwood. I like the found element of the project, but there’s no shame in ordering one either. Peace & thanks for reading : ) 🏔️🌙🕯️💜💙


Leave a Reply