I’m planted a garden this year but this time is a little different. I’m no stranger to gardening. I’ve been watching and helping my father plant his for years. Some of my happiest childhood memories are of watching the Victory Garden on PBS in the late 80’s with my dad, sister and grandparents, or in his community garden plot. But this year I started my garden a little late. In this post I’ll tell you what I’ve done and hopefully give you some inspiration, and ways to trouble shoot your garden if, you too, started a little late. There’s also a tasty eggplant parm recipe at the end :).
Where to Start
I’ve built this year’s garden from the ground up. I moved into my place about a year ago, built some beds and started my seedlings from scratch. There’s something comforting about flipping through the seed catalogue and choosing all the varieties of your favorite veggies and flowers.
Starting wasn’t too difficult. Like I said, I’ve been watching my dad plant his while I was living with him and my step-mom. But I think this is the first time I’ve started my plants from seed and definitely the first time I’ve built raised beds. I won’t be going over building the beds, though they are easy to make. Here’s a how-to video from GBH’s The Victor Garden if you decide to give it a go.
What You Need to Set Yourself Up for a Successful Growing Season
Soil – I started my garden with a basic, all purpose topsoil. You can get it at any garden supply or home improvement store and it’s the foundation of your garden.
Compost – This is an important step. Compost is what gives your plants the nutrients they need to grow to their fullest potential. You can usually get it at the same place you get your soil, and in some cities there are services that pick up your food scraps curbside and for a small fee furnish you and your garden with fresh compost. You can make your own, too, but if you’re just starting out you’ll probably need to pick some up. If you decide you want to start your own pile this article from the Pioneer Woman is a great place to start.
Fertilizer – I used a natural fish emulsion called Neptune’s Harvest, and it gave my plants the extra boost to help them fully develop. I mixed it to the instructions on the bottle, and applied it around each plant twice during the season. You don’t want to apply too much because salts will build up around the base of the plant, sucking the moisture from its roots, preventing your plants from taking in the necessary amount of water they need to grow.
Water – And of course, water. This one wasn’t as intuitive as I thought. In my past gardens, I’d hose it down for a minute or so, or until the top of the soil looked wet, and then called it a day. I was confused when my plants didn’t do as well as I hoped, not knowing what the issue was. Then after reading an article I realized that I wasn’t watering for long enough. To properly water, you need to soak the ground in order for the plants to take in what they need. I water my 32 sqft patch for about ten minutes and my plants are now thriving.
A Late Start to the Season
I started my garden a little late. About three weeks after I should have started my seedlings, possibly more. They took a while to germinate but once they started to sprout I transplanted them again a little too early. This shocked them, and unfortunately delayed their development even more.
A Shock to the System
When repotting your seedlings, they undergo something called transplant shock. Moving them from one container to another, or from the container to the ground, the plant will start to wilt and leaves turn a yellowish brown. This also means that your plants will stop growing for a bit. But don’t worry, this should only last for a couple of days to a few weeks.
I transplanted my seedlings two times. Once from a small container to a larger one, then from that container to the garden. This means that I shocked the plants twice and I already got a late start to the season. All in all I stunted their growth for about two months. Not an ideal start to be sure, but they came back and are now thriving. A lot of it had to do with the prep I did before the seedlings went into the ground.
Fertilizing Your Field of Greens
Before the plants went into the ground I mixed some compost into the topsoil when I first filled the beds, but it wasn’t quite enough. When I noticed the plants weren’t taking as well as I’d hoped, I decided to get a few more bags of compost. I think I used six bags for a 32 square foot container and six of topsoil. I put a layer of compost on top, which acted like mulch helping to keep the moisture in the soil, and it worked amazingly well.
Along with compost I mixed liquid fertilizer, a fish emulsion, and directly applied it around the base of each plant to ensure they got the full dose. The alternative would be to spread the fertilizer evenly throughout the garden while watering, but I like to attend to each plant directly. They showed signs of improvement a few days after and have been thriving ever since.
What to Plant
I chose classic varieties for the garden this year. I don’t have a lot of room so I only grew a few, and started by asking my neighbors what they preferred. I then chose my favorites and came up with a plan (I do love a good plan:). Here’s what was in my garden this season:

Cucumbers – My neighbors said they liked cucumbers so I planted six plants. I put them in two hills, three to a hill, and when planting cucumbers, it’s good practice to hill the soil. This is exactly as it sounds, where you make a small mound and put no more than three seeds, equidistant apart, about two to three inches space between seedlings, and 18″ between hills. They also need a trellis to climb on so I planted them close to the fence around the beds.

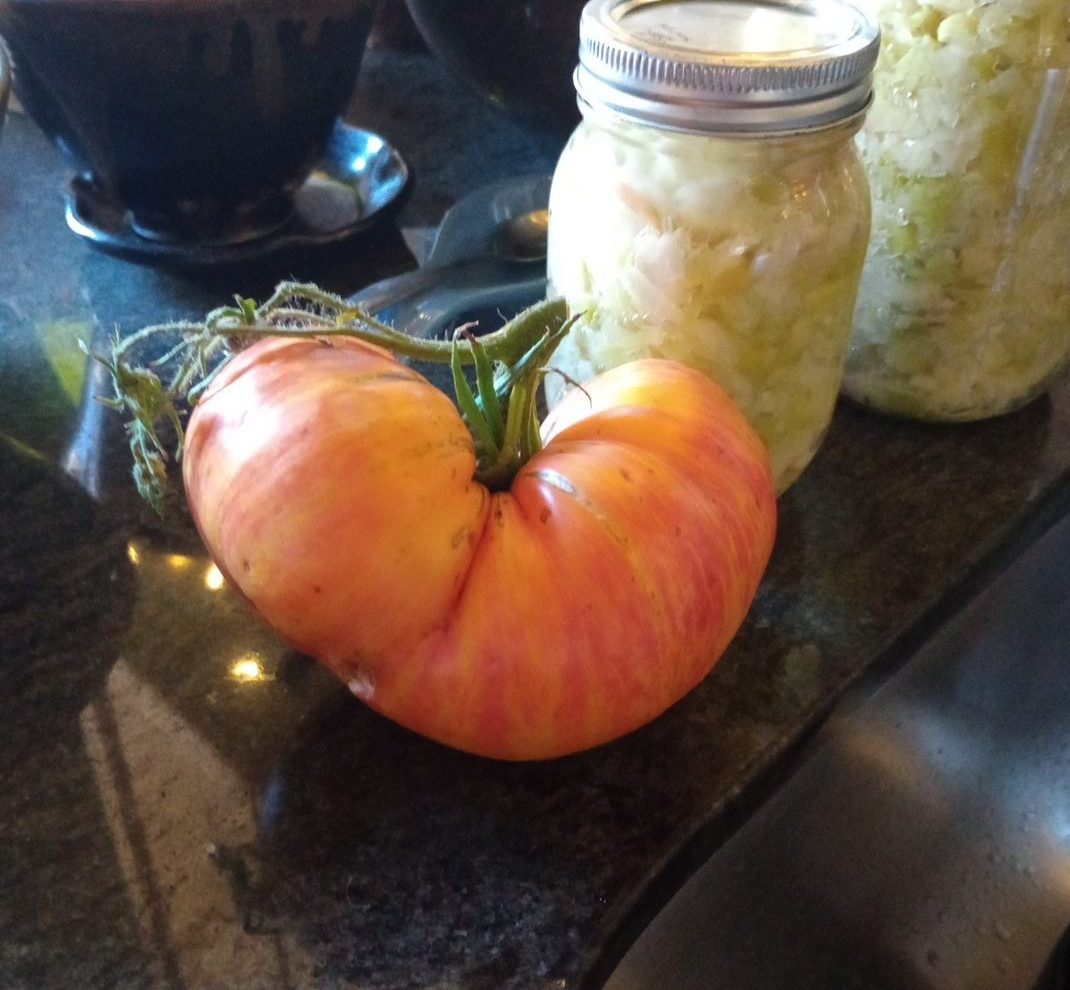
Tomatoes – A garden staple, I planted these because I use so many. Non-descript, the package actually says “Delicious Tomato”. I’m not sure that that’s a cultivar, but they’re good, as the package suggests. I tested one that was an early bloomer and it had a salty quality to it. I dedicated an entire bed to them, and spaced them about 18″ apart.
Tomatoes are a bit top heavy and need to be staked to help them stay upright. If the tomatoes sit on the ground, they are more susceptible to rot and pests. To stake your plants literally mean to drive a stake into the ground next to the plant and tie them to it. Easy-pea-zy

Eggplant – The variety I planted are called “Black Beauty” which developed beautifully, with color true to their name. They only produced a few fruits but they were a good size and looked as appealing as the ones on the package. The directions say to plant them 3′ to 4′ apart. I planted two a little too close to each other, which may be the reason why they produced so few. But I’m happy with the quality of the fruit, and will be growing them again in the future.
Using Your Veg
Let’s get to the reason why you’re planting your garden, how to use your harvest. I’m making eggplant parmesan since I’ve grown most all the ingredients, including the basil plant I have growing on my kitchen windowsill. Here’s the recipe that I’ve adapted from Minimalist Baker’s, “Vegan Eggplant Parm“, also my go to site for recipes. Dana’s version is dairy free, so if you’re looking for a vegan alternative, her recipe is a great option.

Eggplant Parmesan
Ingredients
- 2 Med Eggplants
- 3 Lg Tomatoes
- 1 Cup Parmesan Cheese
- 1 Cup Mozzarella (I’m using fresh and smoked)
- 1 Egg Slightly Beaten
- 1 1/4 Cup Bread Crumbs, Unseasoned
- 3 Tbsp Flour
- 1/2 Cp Fresh Basil
- 1 Cp Milk
- 4 Cloves Garlic
- 2 Tsp Red Pepper Flakes
- 1 1/2 Tsp Salt (and more for eggplant)
- Olive Oil
- Black Pepper to Taste
- 1/4 Cup Fresh Oregano (optional)
- Fresh tomato slices (optional)
Directions
- Start by cutting your eggplants into 1/2″ slices. Sprinkle both sides liberally with salt and place in a colander in the sink. The salt draws out some of the liquid and bitter taste of the eggplant. Let sit for 25 min.
- Prepare your veggies by mince the garlic and cut the tomatoes into 3/4″ to 1/2″ cubes and set aside.
- Heat your three or four quart saucepan over a medium-low flame. Once hot, add enough olive oil to coat the bottom of the pan, about 3 tbsp. Add garlic and sauté for about 20 seconds, until fragrant. Add diced tomatoes, 1 1/2 tsp salt, red pepper flakes, oregano (if using) and black pepper to taste.
- Stir the tomatoes until they reduce to a thick, saucy consistency. Turn the heat down to medium-low, cover and cook for about 20 mins. You’re looking for a loose consistency, like apple sauce but thicker. Add water or stock if it starts to look dry or thick, and stir occasionally to make sure your sauce isn’t burning, or sticking to the bottom of the pan.
- While the sauce is simmering, preheat your oven to 400° and heat a cast iron pan over medium-high heat. Rinse the salt off the eggplant and pat dry with a kitchen towel.
- Now set up your dipping station by arranging three shallow bowls, putting flour in the first, milk and two slightly beaten eggs in the second, and the mixed breadcrumbs and 1/4 cp parmesan in the third.
- One at a time, dredging the eggplant through the flour, then in the beaten egg and milk. Then press firmly in the breadcrumb/parmesan mixture, making sure to evenly coat each piece. Don’t worry if you don’t cover the sides or face completely.
- Add oil to the hot pan and fry eggplant slices, making sure not to crowd them. Cook until golden and crispy on each side, about 3 min per side, adding oil as needed. The eggplant will absorb the oil quickly, leaving your pan dry, but too much will make them soggy.
- To assemble, coat the bottom of a 9″ by 9″ baking dish with oil and in layers, add 1/4 each of the sauce, fried eggplant, grated parmesan (about 3 tbsp), torn, fresh basil, and a 1/4 cp shredded mozzarella, smoked and fresh. You should have enough for four layers. I added a layer of fresh tomatoes as well.
- Bake for 20-25 mins, until sauce is bubbly, and the cheese on top is slightly browned. Serve with your choice of pasta. Best when fresh, will stay in the fridge for four days, and freezer for a month.
These tips should help you get your garden going, and I hope you enjoy the recipe. Let me know how it turns out and how your season is going in the comments below. And as always, peace & thanks for reading 🙂 🏔️🌙🕯️
Leave a Reply